TL;DR: Some exposed paper-wasp nests can be relocated with household containers, a few inexpensive tools, and a prepared mounting site. My approach used a small kit, temporary containment, and a refrigerator. The working budget is under US$50 for tools and consumables. It assumes you already have suitable protective gear, lighting, and a refrigerator.
The objective is simple: move the nest, preserve the brood, and get the adults back onto their comb.
I have attempted this twice. The first nest held about five wasps. The second was roughly the size of my hand and had around two dozen.
The second operation included a missed scrape, a sting, an attachment failure, and wasps returning to two previous locations. The nest eventually held at its third location. At my latest check, roughly 20 adults were gathered on it.
That is an encouraging early result. Long-term colony survival remains to be seen.
First Decision: Does the Nest Need to Move?
Leave an undisturbed nest alone when its location permits it. Relocation introduces handling, damage, and sting risks.
My larger nest was above a trampoline. That location created a recurring conflict with people. I wanted to move the colony intact.
Paper wasps hunt insects for their developing young. They have a useful place in the garden. Preserving them fits the same principle as practical wildlife conservation: resolve the conflict with the least disruption you can reasonably achieve.
Use this decision table before assembling equipment.
| Situation | Next move |
|---|---|
| Nest is away from people and routine activity | Leave it undisturbed and observe |
| Nest appears inactive | Confirm its status before treating it as abandoned |
| Small, exposed paper-wasp comb with straightforward access | Assess relocation and the available help |
| Large colony, vigorous defense, difficult overhead work, or unstable footing | Seek a qualified professional |
| Enclosed paper nest, ground entrance, wall cavity, or uncertain identification | Get species-specific advice |
| Known sting allergy | Do not attempt the handling yourself |
Ask specifically about live relocation when contacting a professional. Services differ.
Identify the Nest Before Touching It
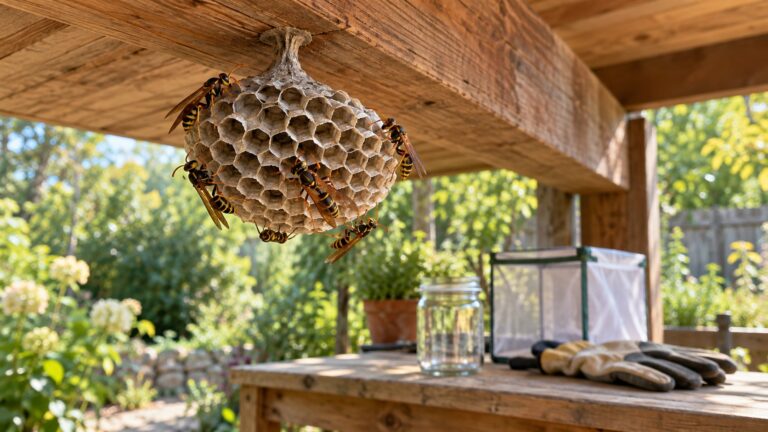
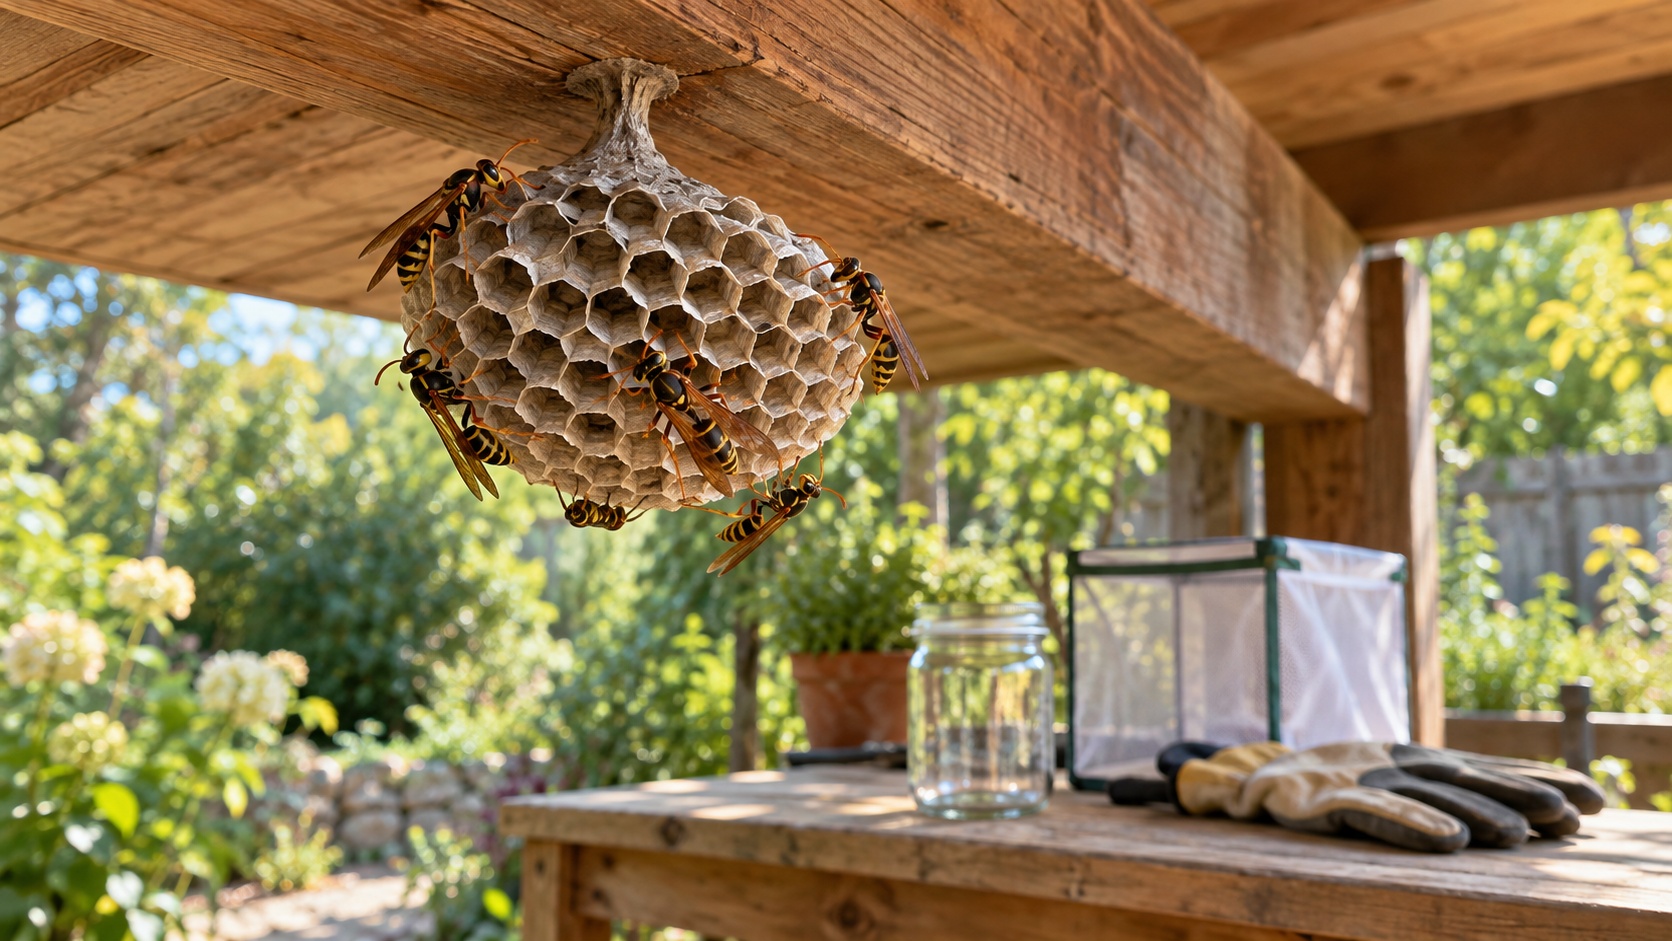
This field report concerns an exposed paper-wasp comb. The cells are visible. A narrow stalk attaches the comb to its support. That stalk is called a petiole or pedicel.
The exact species in my photographs has not been confirmed. Nest appearance alone does not establish species.
| What you see | What it suggests |
|---|---|
| Exposed paper cells hanging from a narrow stalk | A paper-wasp nest of the general type discussed here |
| Comb enclosed inside a paper envelope | A different handling problem; get identification |
| Repeated traffic through a ground or building opening | A concealed nest; do not apply this exposed-comb method |
| Hardened mud cells or tubes | A different nesting system; do not assume colony behavior |
The University of Maryland’s social-wasp guide explains these insects’ nesting and brood-care biology. Adults collect food for developing young. Preserving the comb matters alongside preserving the adults.
Assemble the Minimalist Kit
Buy for a specific task. Inventory your household supplies first.
The two specialized items I used were a small battery-powered insect vacuum and a zippered butterfly habitat. Both were optional additions to the basic containers and mounting supplies.
Equipment and Spending Limits
These are planning allowances in US dollars, not live retailer prices or a complete receipt.
| Item | Role | Spending allowance |
|---|---|---|
| Butterfly habitat or similar mesh enclosure | Temporary containment or an outer backup enclosure | Up to $10 |
| Small insect-catching vacuum | Collecting individual returnees | Up to $20 |
| Mounting material and tape | Reattaching the comb and securing a temporary container | Up to $15 |
| Box, receiving container, scraper, and small transport container | Capture, support, and transfer | Reuse suitable household items |
| Planned new purchases | Optional gadgets plus consumables | Up to $45 |
Allow for local prices, shipping, and batteries. If the optional gadgets exceed the budget, leave them out of the shopping plan. The smaller 2020 relocation used a bag and jar.
Protective equipment sits outside this spending table. Budget for it before optional gadgets.
What the Mesh Container Actually Did
The butterfly habitat served two different roles.
During the first chilling session, it held the captured wasps.
During the later session, it formed a second containment layer around the vacuum collection assembly. It was a backup in case a wasp escaped.
Its narrow zipper opening made it awkward as a receiving container for the larger comb. I switched to a towel-lined box supporting an open bag for that part of the move.
A butterfly habitat is not certified wasp-handling equipment. Check closures and damage. Mesh is containment material, not sting protection.
How to Relocate an Exposed Paper-Wasp Nest
Phase 1: Prepare the Destination
Choose the destination before disturbing the original nest.
Look for shelter from rain and strong wind. Keep it away from routine contact. Leave room to inspect the attachment from a distance.
Preserve the comb’s existing orientation. Keep the cells clear. Plan access to the attachment point.
The mounting job deserves a rehearsal on an empty surface. Establish how the support will hold during curing. Have the tools within reach.
My first replacement mount failed. I had not mixed the two-part epoxy correctly. The nest later fell onto the balcony floor.
That error turned one relocation into several recovery jobs.
Get the Mounting Material Right
Follow the product’s mixing, surface-preparation, and curing directions. Packaging varies. Counting sticks is not a mixing instruction.
For the later mount, I used superglue at the cleaned stalk and correctly mixed epoxy around the attachment. It held through my latest observation.
That observation establishes mechanical holding over that interval. It does not establish long-term durability or insect safety for every adhesive.
Keep adhesive away from cells, brood, and adults. Avoid loading an uncured joint. If the attachment cannot support the comb, solve that problem before introducing the colony.
Phase 2: Plan the Approach
Inspect the site in daylight. Do the handling during a period of reduced activity.
I worked at night under red light. Penn State Extension discusses reduced nighttime activity and positioning a light away from the operator. Red light is an aid. It does not make you invisible or prevent stings.
Wear suitable protective clothing, gloves, closed footwear, and face protection. Cover openings. Keep children, pets, and unnecessary observers clear.
Use stable footing. Establish a clear retreat into shelter. An overhead nest is a poor place to discover that your chair moves.
I took a sting during the larger relocation. Treat that as a handling failure to learn from. A severe allergic reaction requires immediate emergency care, as CDC/NIOSH explains.
Phase 3: Receive the Comb Without Crushing It
The receiving container must fit the actual nest. Check the opening before approaching the colony.
Allow space for the comb and adults. Avoid a narrow opening that forces you to bend the nest or drag it against an edge.
Support the comb during detachment. Work at its attachment to the structure. Keep the tool away from the cells.
On my first attempt, I clipped the beam instead of separating the stalk. The adults became agitated. I withdrew and waited before returning.
On the second attempt, the wider receiving arrangement caught the comb.
The lesson is mechanical: see the attachment point, support the load, and protect the cells. A long drop into a container adds damage risk.
Could a Zipper Bag Replace the Larger Setup?
A large zipper bag looks like an obvious shortcut for an accessible nest. Envelop the comb, detach it, and keep everything together.
I did not test that exact shortcut on this larger nest. It remains a proposed variation.
A flexible bag can tear, fold against adults, or let the comb shift. It also leaves the mounting problem unresolved.
I do not want to glue a stalk to a ceiling while angry thumbtacks wake up beside my hand.
Keep the adults contained during mounting. A thin bag is not protective equipment.
Phase 4: Manage the Adults Separately From the Mounting Job
Two approaches appear in my field reports: nighttime containment without induced immobilization, and refrigeration of captured adults.
They carry different handling problems. Neither guarantees a sting-free operation.
Route A: No Refrigeration
My 2020 nest had about five adults. Both locations were close and accessible.
I enclosed the nest in an organza bag at night. I intended to keep the stalk exposed for reattachment. The entire nest fell into the bag.
I assumed the attempt had failed. I released the adults and glued the apparently abandoned comb at the replacement site anyway.
Then I found adults gathering at the original location.
I caught them in a jar and held its opening over the reattached comb. When they settled onto it, I removed the jar. I repeated this about two or three times. The group reunited.
Penn State describes a similar reunion principle for newly started exposed nests without workers. Its example involves containing the founding female, moving the nest, and holding her container over the comb until she settles. My five-adult case was larger than that narrow example.
Route B: Refrigeration of Captured Adults
For the 2026 move, I used a refrigerator to make captured adults temporarily inactive while I worked on the nest.
My reported conditions were approximately 4°C. One session lasted around 20 minutes. A later session approached 30 minutes.
Those figures record what happened. They are not a validated exposure schedule for unidentified wasps. I cannot establish a safe time window from two sessions and an approximate headcount afterward.
Cold-induced immobility is not ordinary sleep. Research on insect chill tolerance distinguishes loss of movement from cold injury. Severe or prolonged chilling can injure insects.
For the method I used, the important handling principles were:
- Containment was in place before chilling.
- The adults remained contained during the mounting work.
- The receiving area stayed dry.
- The mounting tools were prepared before the transfer.
- Reunification happened after the comb was secured.
Do not substitute a freezer, ice-water immersion, or an airtight suffocation chamber. Do not treat motionlessness as proof that bare-handed handling is safe. Species-specific guidance is needed before copying the chilling conditions.
Keep collection equipment and insects securely separated from food. A refrigerator does not correct a damaged container or unreliable closure.
Phase 5: Secure the Comb Before Reunification
Complete the mounting job while the adults remain contained.
Preserve the original orientation. Keep openings unobstructed. Protect the stalk from bending and avoid pressing on brood cells.
If adults are becoming active before the attachment is ready, keep the container closed and reassess. Do not rush an overhead glue job against their recovery.
My later mount sat near a wall in a more sheltered balcony position. The intact comb stayed attached there through my latest check.
Some video demonstrations use a small mounting board or shelter. That may simplify access to the attachment. It adds another item, but it can be worth considering when direct ceiling work is awkward.
Phase 6: Put the Adults Beside Their Own Comb
My final straggler transfer used a small container secured beside the relocated nest. Its opening faced the nearby comb. The adults could leave it and reach the nest.
Prepare that placement before transferring insects. Keep adhesive and exposed sticky tape away from their exit path. Avoid positioning a container where it could fall onto the comb.
Give the adults access to their own nest. Step away and observe from a distance.
The photographs show the container taped to the adjacent beam and the nest mounted on the brick surface. That is the arrangement I used. It is not evidence of a universal reunion distance or a guaranteed response.
Check later for adults still inside the temporary container. Remove empty equipment when it can be done without disturbing the colony.
Phase 7: Check the Previous Locations
Moving a comb does not ensure that every adult follows it.
After the larger move, adults were distributed across three places:
- The original beam above the trampoline.
- The first replacement position.
- The final balcony position.
The failed mount and second relocation complicated the reunion. Roughly 15 adults were reported back at the original beam at one point.
Collecting Returnees
I used a jar for the smaller 2020 group. In 2026, I also used a small insect vacuum for individual returnees.
The vacuum was useful, but I lost track of exactly where some adults were during transfer. An apparently empty collection tube did not give me a reliable count.
Keep any collection equipment closed until its next container is ready. Account for what remains inside. Avoid repeatedly reopening equipment to investigate an uncertain count.
Do not substitute a powerful household or shop vacuum for a small insect collector. My experience does not establish that either method is harmless. A product advertised for collecting wasps still needs scrutiny.
The mesh enclosure served as an outer backup during the later chilling session. It was not the primary container on that pass.
Why They Returned
The adults’ repeated visits were consistent with a learned nest location. I did not establish the exact cues they used.
I later cleaned the old beam with soap and water. At the following check, no adults were visible there.
Several interventions had occurred. I cannot credit the cleaning alone. Do not assume that wiping a surface erases a wasp’s memory or guarantees that returnees will leave.
Keep soap and cleaning products away from occupied comb and adults when preserving the colony is the objective.
Aftercare: Check Attachment, Activity, and Brood
At the latest daylight check, I estimated roughly 20 adults on the relocated comb. Activity around the cells was visible. The old trampoline location was clear at that observation.
The early reunion looked promising. Exact adult survival, queen survival, and later brood development were not confirmed.
Use a simple record.
| Check | Record |
|---|---|
| Attachment | Whether the comb remains secure |
| Adults | Approximate number visible; note the time and weather |
| Movement | Departures, returns, and adults remaining in temporary containers |
| Brood | Visible activity at cells and any later emergence actually observed |
| Old sites | Returnees or new construction |
Compare photographs taken under similar conditions. A low count during one visit is not a complete census.
Observe from a distance. Do not open cells or disturb the nest to prove success.
Alternate Methods: Keep the Evidence Straight
Carbon Dioxide
Some creators use CO2 equipment to immobilize wasps. I did not use it in either relocation.
A cylinder, regulator, and delivery apparatus fall outside this minimalist setup. A successful demonstration does not establish a universal exposure limit.
The gas is carbon dioxide, CO2. Carbon monoxide, CO, is a different poisonous gas. CO2 also presents human exposure hazards at high concentrations.
Cooling an Occupied Nest in Place
I have considered a chilled enclosure placed around the nest. A separate dry catch compartment could keep inactive adults away from ice or water.
I have not tested that design.
Uneven cooling, condensation, secure placement, and exposure of the brood remain unresolved. It belongs in a future investigation, outside the working procedure above.
Wasp Nest Removal FAQs
Can You Remove a Wasp Nest Without Killing the Wasps?
Sometimes. Exposed paper-wasp nests offer possibilities that do not apply to every nest type. The aim is to preserve the adults and brood. Nonlethal intent does not guarantee zero losses.
Can You Relocate the Nest a Short Distance?
My smaller relocation involved two nearby locations. Returning adults still needed attention. Neither attempt establishes a minimum relocation distance.
Do You Need a Butterfly Habitat or Insect Vacuum?
No. My smaller attempt used an organza bag and a jar. The habitat and vacuum were additional tools for the later case. Their usefulness depends on the actual capture and transfer problem.
Does Knocking Down the Nest Make the Wasps Leave?
Not reliably. Adults returned to earlier positions in my case. Knocking down a nest also fails to preserve the comb unless it is properly received and reattached.
Will the Colony Die Off in Winter Anyway?
That depends on the species and local climate. Winter conditions vary across the United States. Confirm seasonal activity with your local Extension office before choosing to wait.
Key Takeaways
The small-tools budget was straightforward. Handling and attachment determined the outcome.
For a minimalist relocation, put the effort into these decisions:
- Identify the nest and assess access.
- Prepare the destination first.
- Match the receiving opening to the comb.
- Keep the comb supported during removal.
- Keep adults contained during mounting.
- Follow the attachment material’s instructions.
- Reunite adults with their own comb.
- Check the old locations.
- Document what happens afterward.
The most useful improvement to my method is also the simplest: prepare the mount, contain the adults, and complete the attachment before reunification.
Move the comb. Recover the returnees. Then give the colony room to continue.
About the Author